
Mummy Oreo Balls
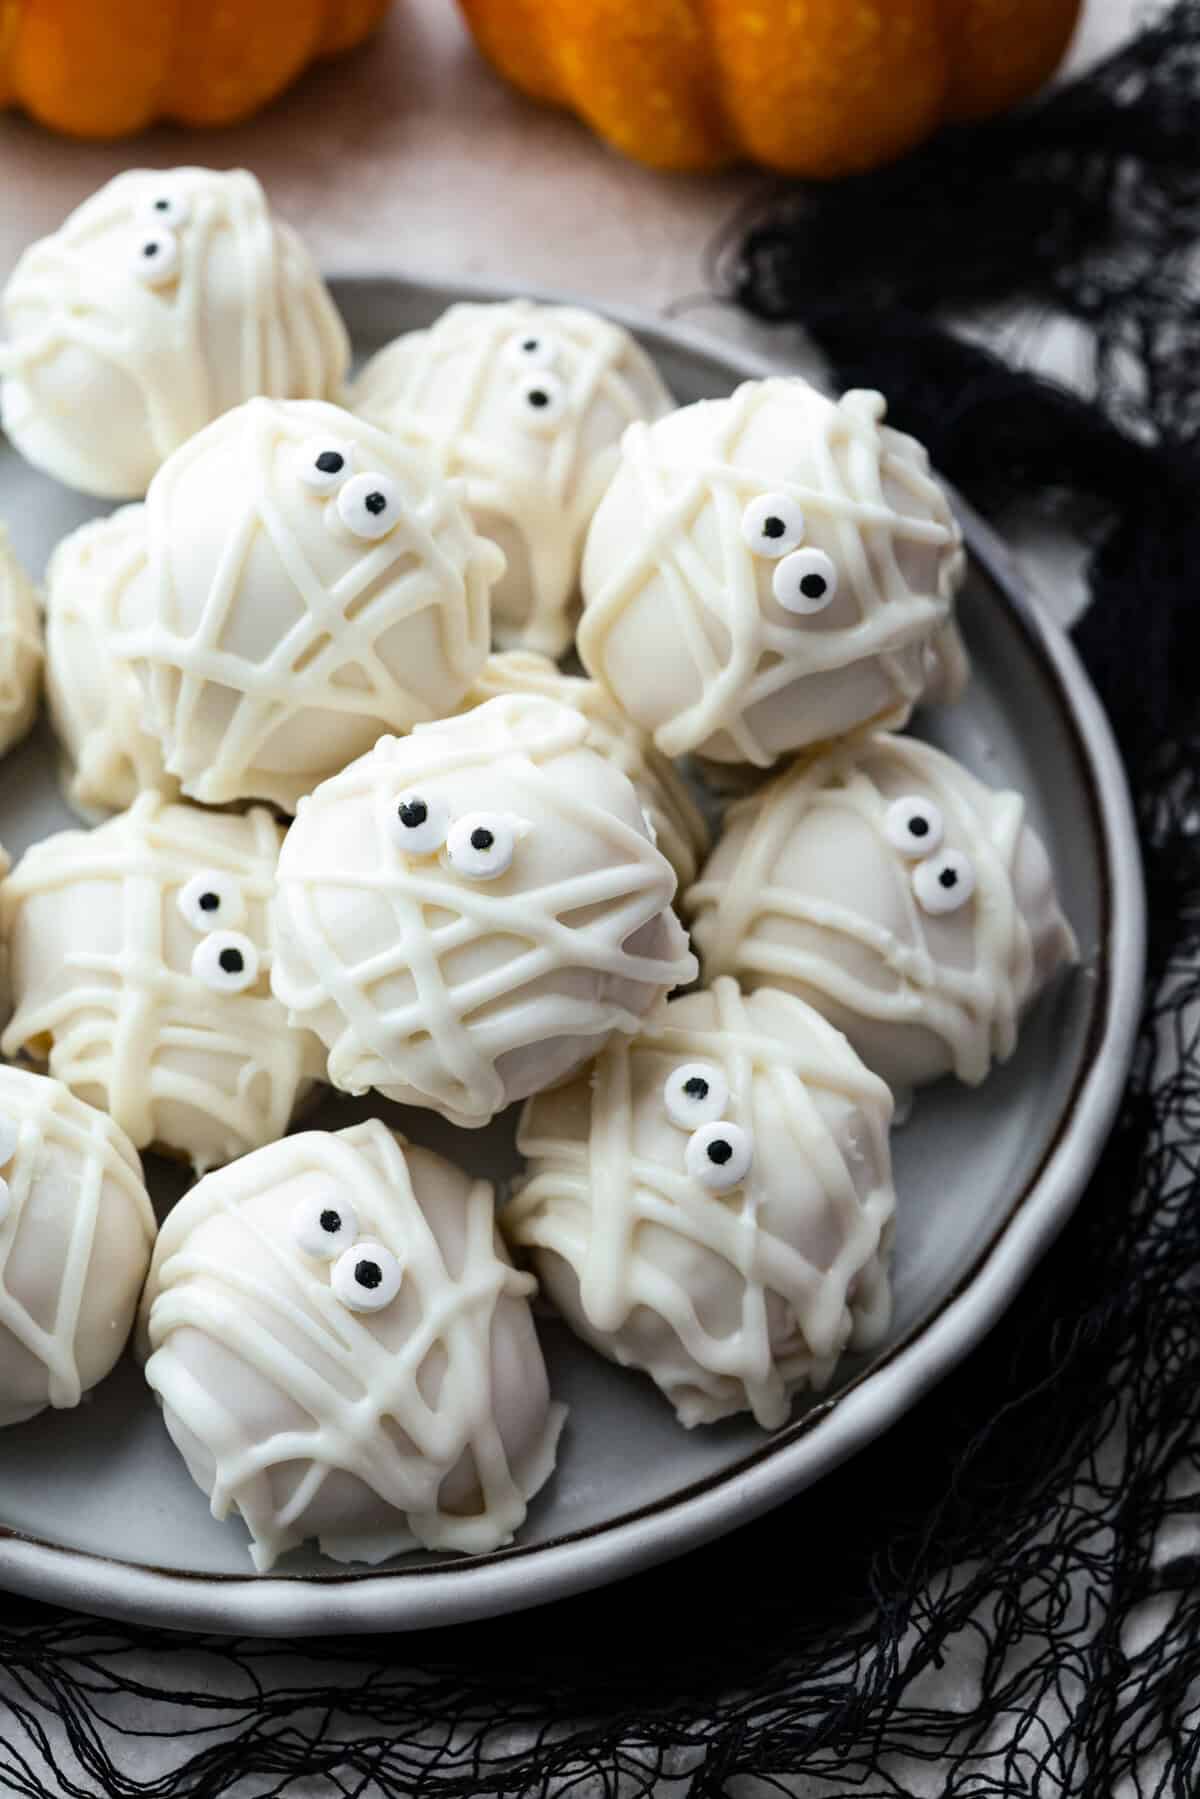
These cute and creamy no bake Oreo truffles are the perfect spooky treat for your Halloween party.
 recipesbynani.com
These mummy Oreo balls are one of my favorite things to make when October rolls around. They are so incredibly simple because they only require four ingredients, and you do not even need to turn on your oven to get them ready. They look adorable on a party platter and kids absolutely love helping with the decorating part.
Since the recipe is so straightforward, the secret is all in the chilling time. Make sure you let those little truffles firm up in the freezer before you try to dip them, as it makes the process much less messy. If the chocolate starts to get too thick while you are drizzling the bandages, just give it a quick stir or pop it back in the microwave for a few seconds.
🧺 Ingredients
- 8 ounces cream cheese, softened
- 36 Golden Oreo cookies, finely crushed
- 14 ounces white baking chocolate
- Candy eyes
👩🍳Instructions
- 1
Mix the softened cream cheese and crushed cookie crumbs in a bowl until they are completely combined.
- 2
Shape the mixture into 1 inch balls and place them on a baking sheet lined with parchment paper.
- 3
Freeze the Oreo balls for 10 minutes to help them firm up.
- 4
Melt the white chocolate according to the package directions until smooth.
- 5
Dip each chilled Oreo ball into the melted chocolate, coating it completely, and return it to the baking sheet.
- 6
Refrigerate the coated balls for 1 hour until the shell is firm.
- 7
Place the remaining white chocolate into a small plastic bag and snip off a tiny corner.
- 8
Pipe a little bit of chocolate onto each ball to act as glue for the candy eyes, then press the eyes into place.
- 9
Drizzle the rest of the white chocolate back and forth over the balls to create the mummy bandages.
- 10
Return the truffles to the refrigerator until the bandage drizzle is set.
💡 Tips
Store these in an airtight container in the refrigerator to keep the chocolate firm and fresh. You can also make the centers ahead of time and store them in the fridge until you are ready to dip and decorate.
Made this recipe? Let us know how it went.
You might also like

The Best Monster Cookies
These monster cookies are packed with creamy peanut butter, oats, and plenty of colorful chocolate candies for the perfect treat.
Simple Chocolate Almond Cake
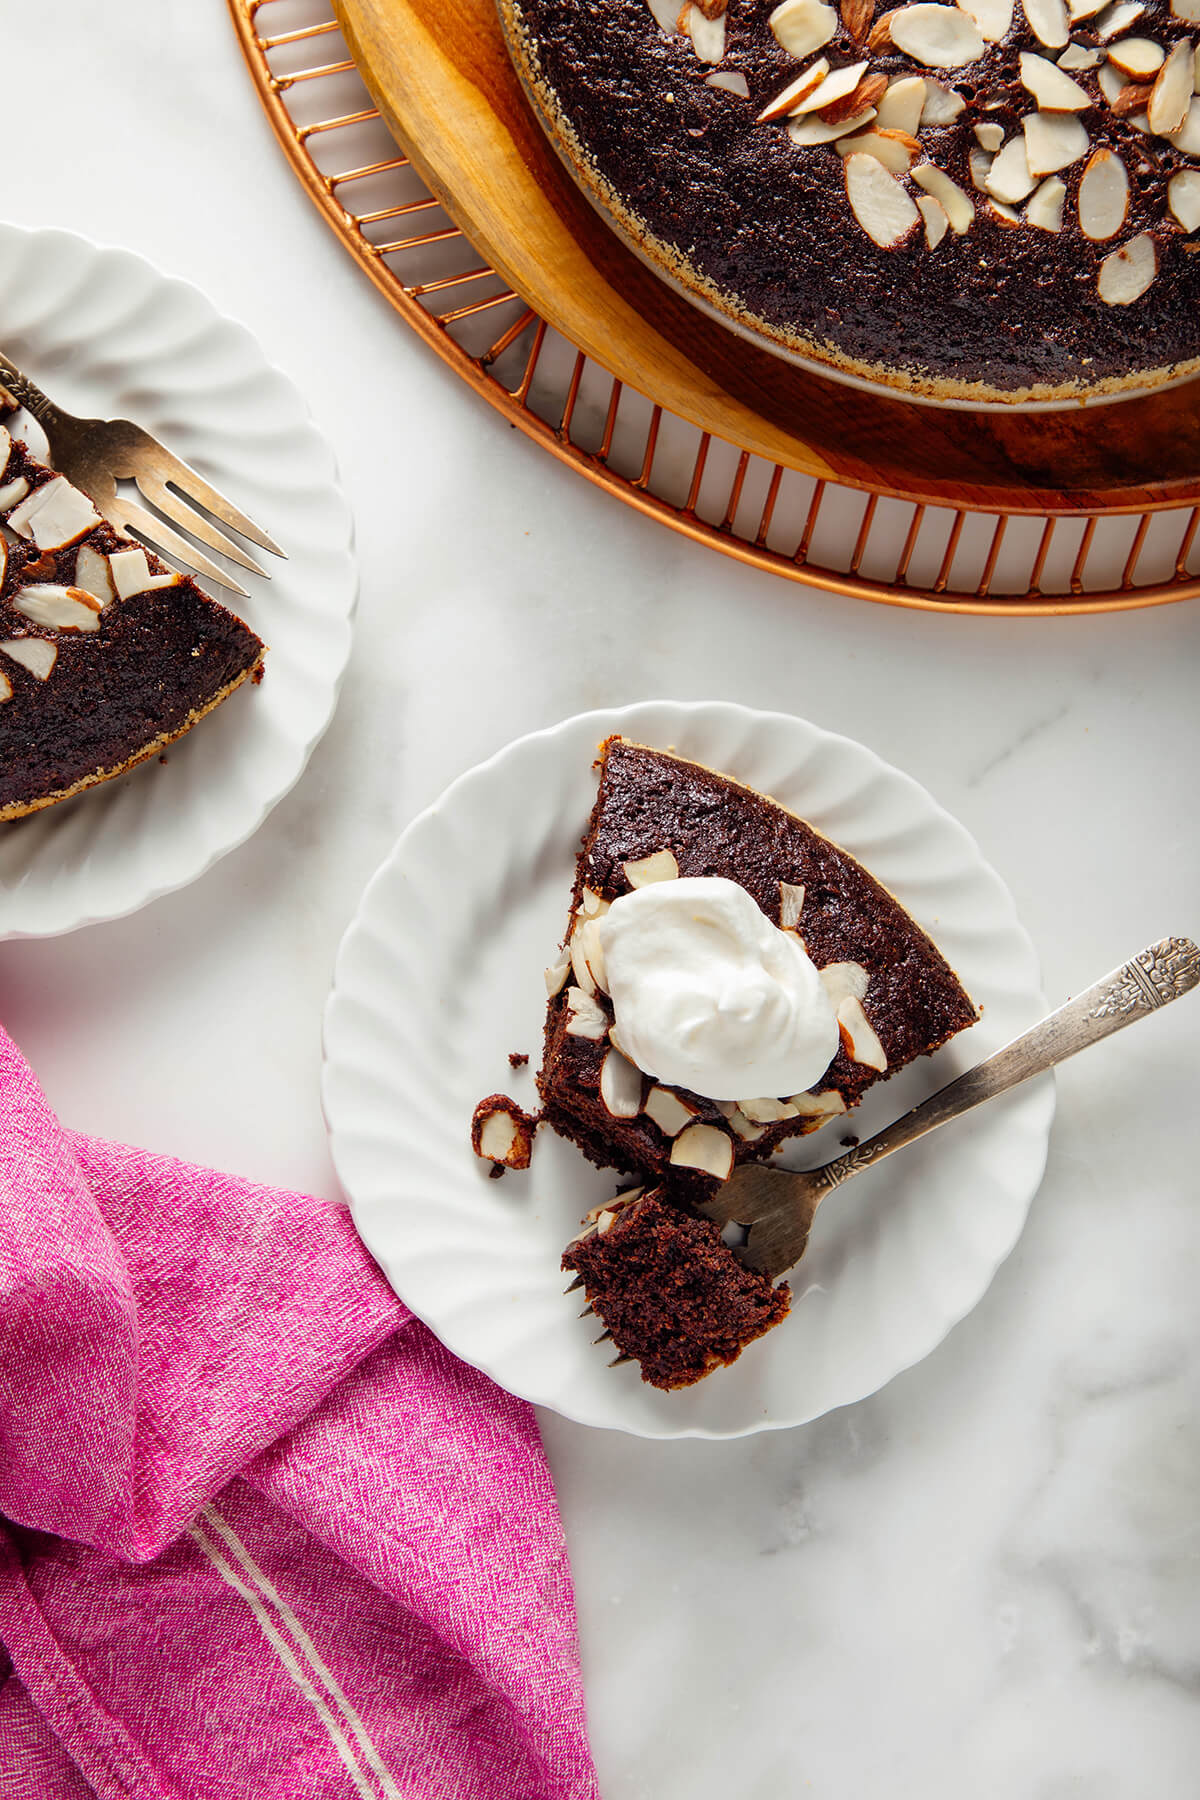
This tender and rich chocolate cake is made with almond flour, making it a delicious gluten free treat.
Easy Upside Down Pear Tart
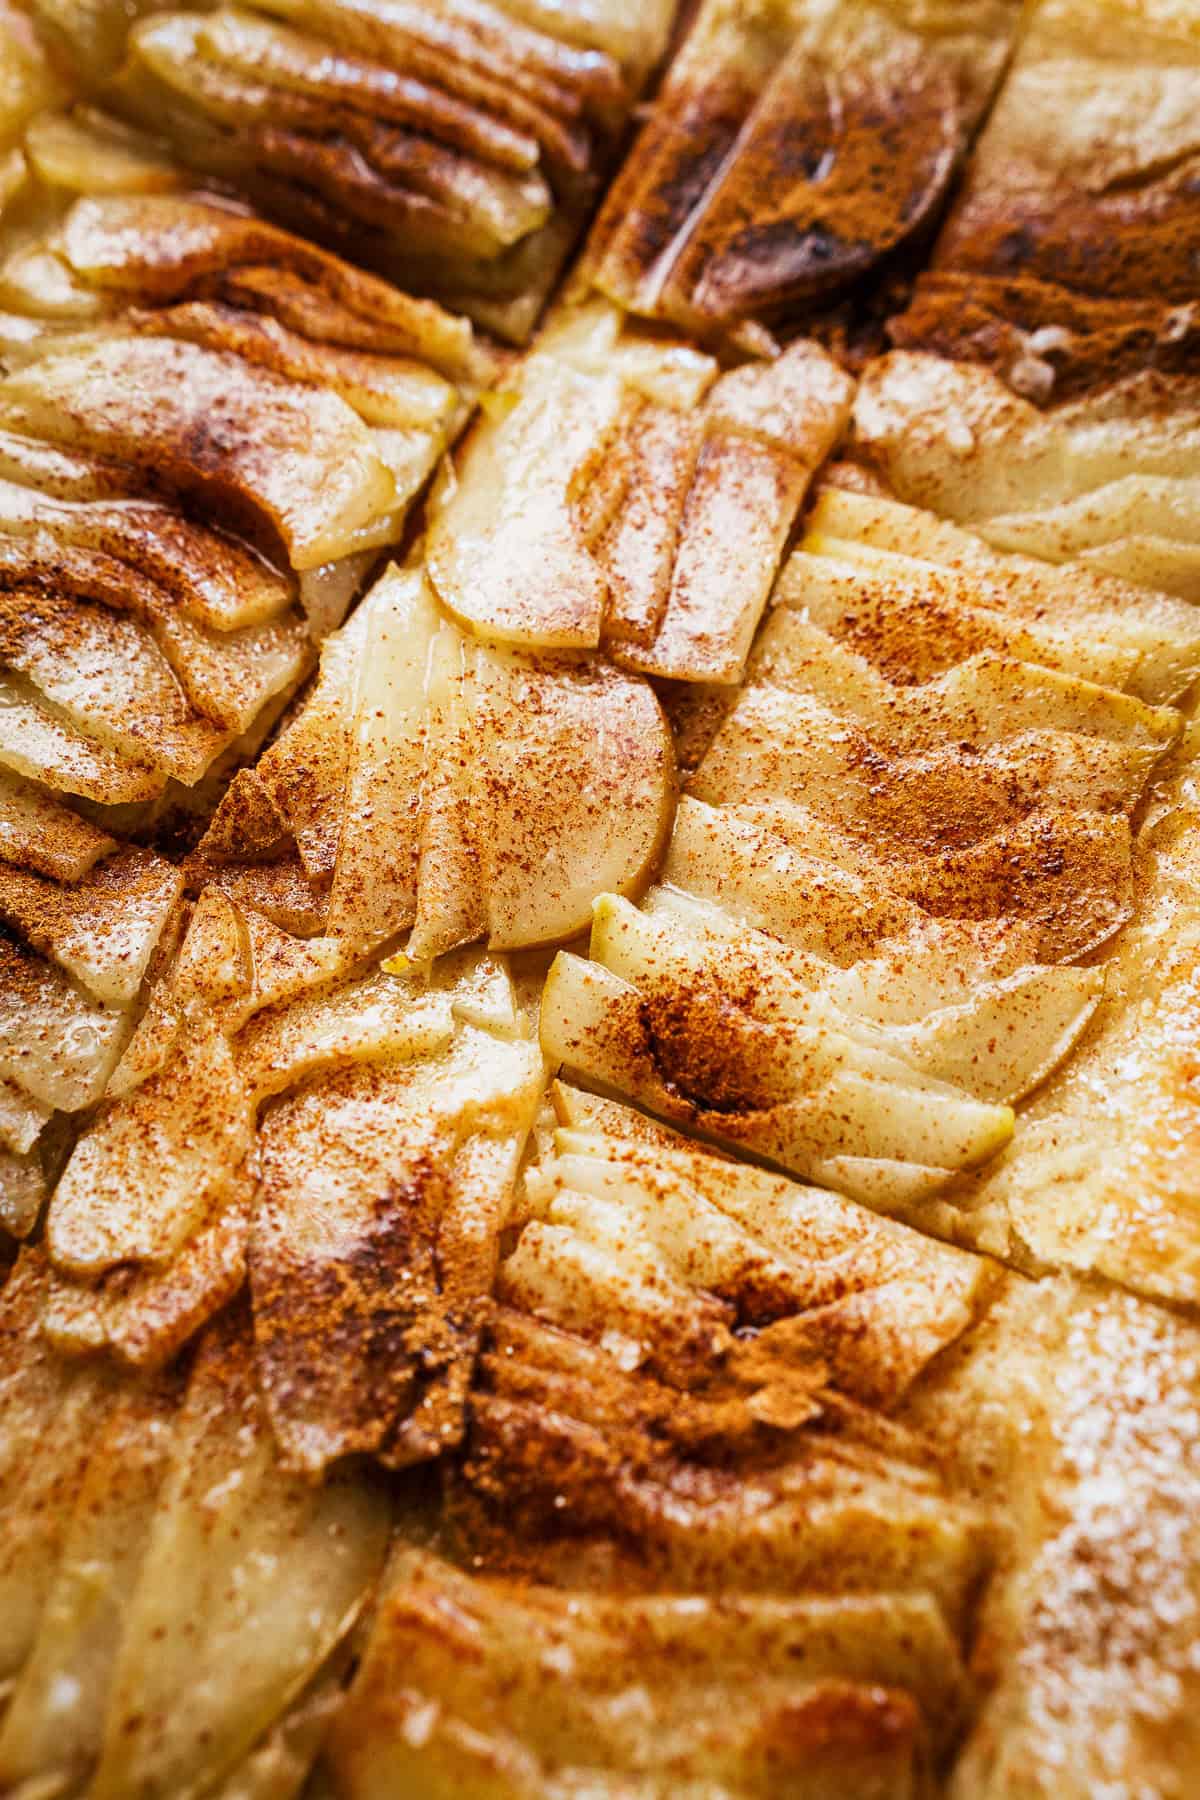
A golden, flaky French style tart made with sweet caramelized pears and buttery puff pastry.
Homemade Apple Pie Bars
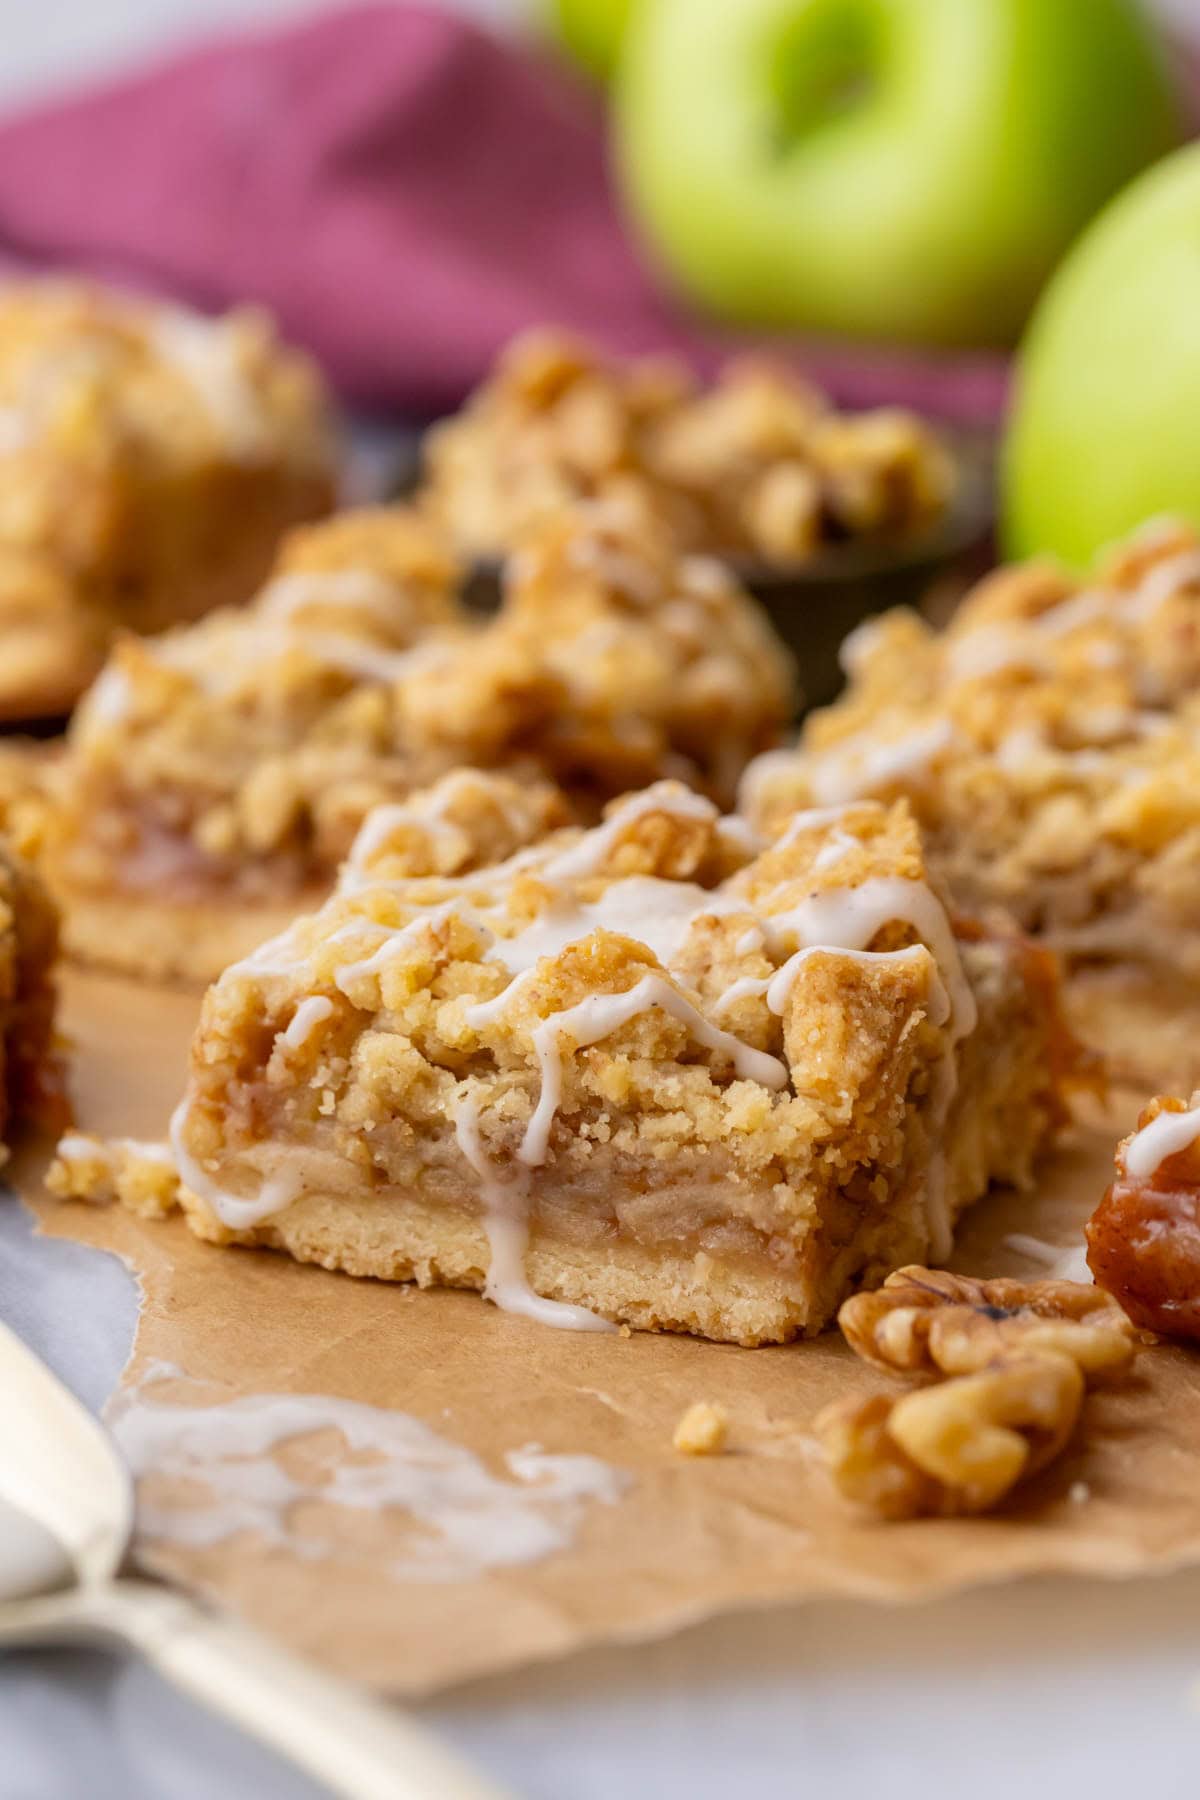
These bars bring all the cozy flavors of apple pie into an easy to eat snack that requires no rolling pin.